Information Request
In this section, you will learn how to use the Info tool.
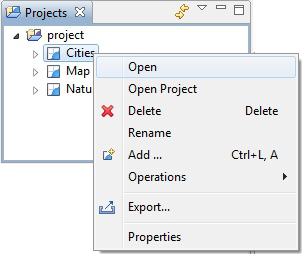
Open up our first map labeled Cities.

Hint
You can also double click on the Cities map in the Projects view to open it.
Use the Zoom tool to navigate to an interesting detail, such as a green park.
Change to the Info tool in the Map editor palette.
Hint
You can use the i keyboard shortcut cycle between available information tools. The tool cursor to indicate the current tool so you do not have to look up when working.
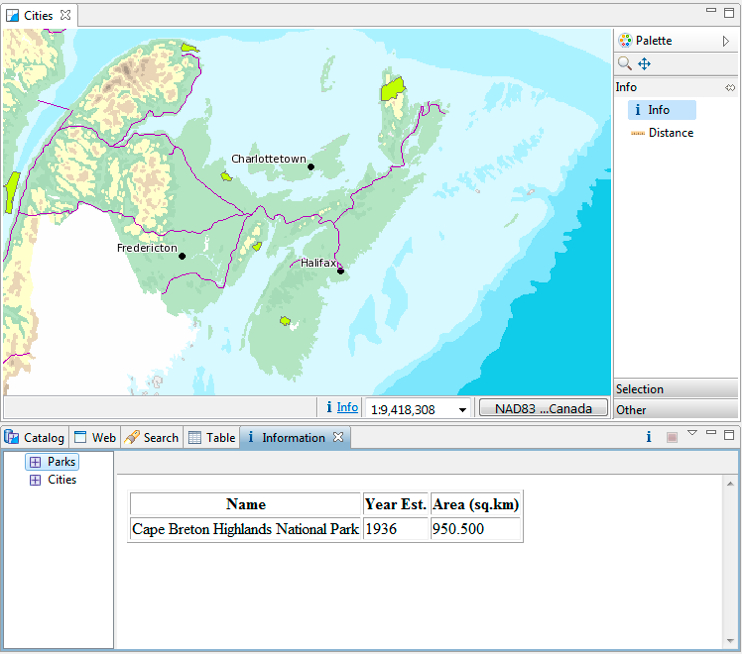
Click on a green park; to request more information from the Web Map Service.

- The Information view is opened, listing details about the Park
layer at the location specified.
- Not all Web Map Servers support the GetFeatureInfo operation; as such information may not be available for all layers.
- The application uses a normal browser to display HTML content
- If a lot of information is returned you may wish to drag the Information view out of the workbench to have more reading space.
Feature and Raster Values
You can also use the Information view to quickly review feature and raster values.
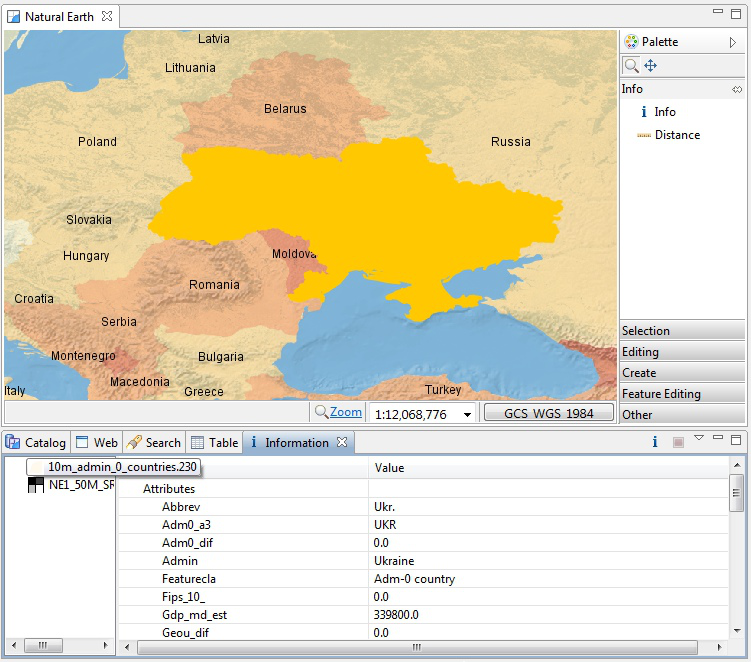
Open your Natural Earth map, and use the Info tool to click on a country.
The Information view open to list each layer with information
The left pane of the Information used to pick the details to display.
Pick the 10m admin 0 countries feature listed.
The right pane of the Information view is used to explore the attributes of the country you clicked on.
- You will see the information view flash the country to remind you of the area you clicked. This is useful when sorting through several featuers on different layers.
- The Information view is only used review values, we will cover editing as part of uDig Walkthrough 2

- The details displayed based on the content picked in the left pane of the
Information view.
Pick the NE1_50M_SR_W raster layer to review the RGB values.
